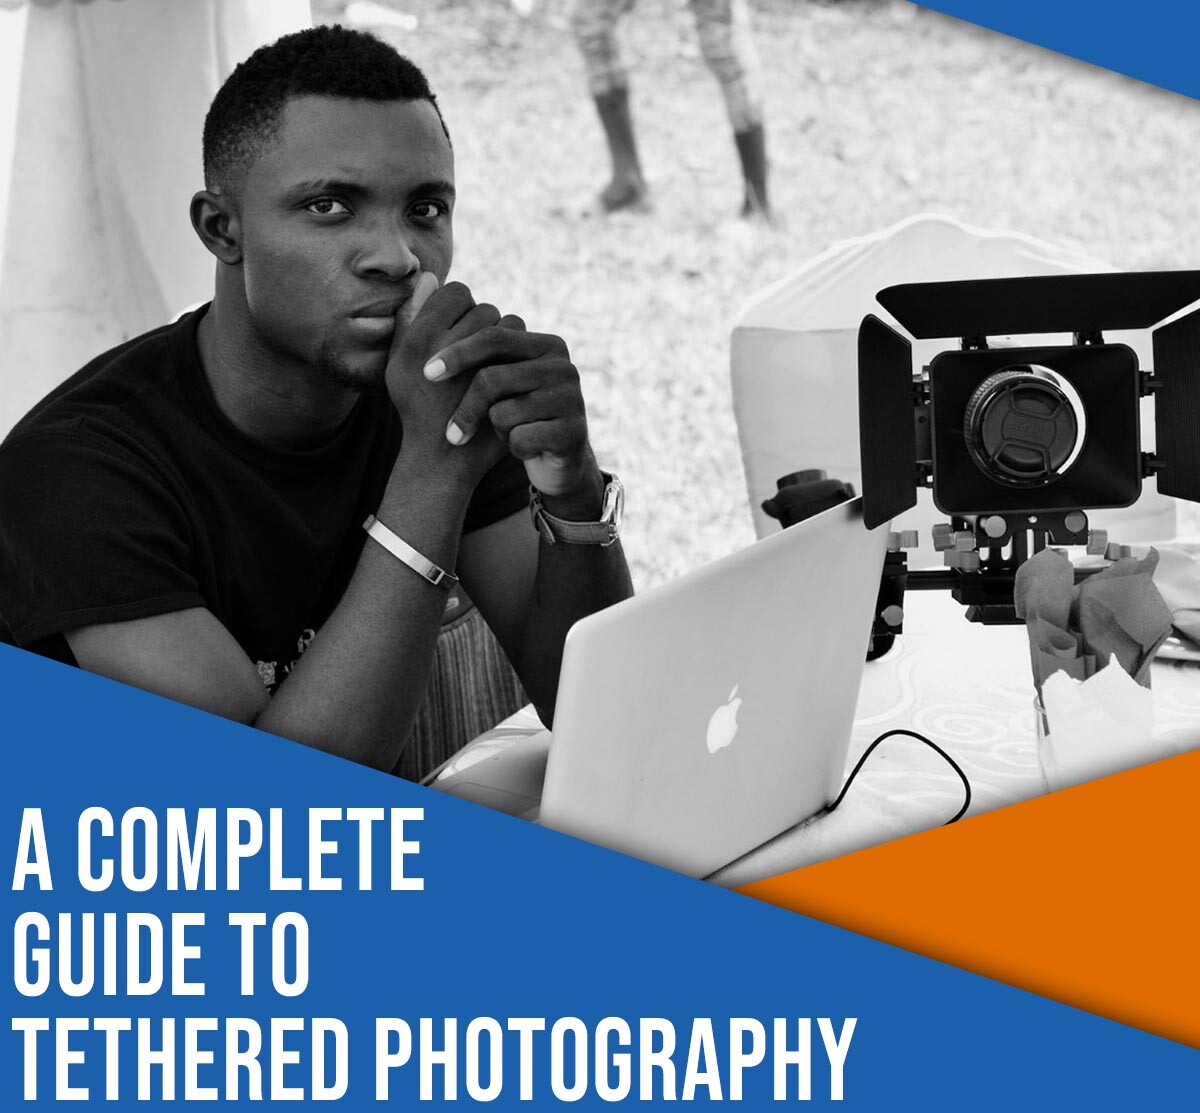
Tethered Photography: A Step-By-Step Guide
The post Tethered Photography: A Step-By-Step Guide appeared first on Digital Photography School. It was authored by Suzi Pratt.
This article was updated in May 2025 with contributions from Simon and Lauren @ Tether Tools.
When I first delved into studio photography, I was so excited. I had my lighting, I had my camera and lenses, and I had some great subjects.
But after spending a few weeks shooting, I became frustrated. In the studio, every little detail counts. A blemish or piece of dust on a product, a slightly out-of-position light on a portrait, a too-powerful flash, an off-color ambient light; each has the potential to ruin the photo and make it useless to both you and your clients. Yet the camera LCD, and even the viewfinder, just didn’t offer large enough previews to check for these issues. I needed a better way to evaluate my studio shots. That’s when I tried tethering, and I immediately realized that it was the perfect solution to my problems.
So what is tethered photography? How does it work? And how can you efficiently tether your camera while shooting?
In this article, I explain everything you need to know about tethering, including:
- How tethering can instantly improve your workflow
- When you should (or shouldn’t) tether your camera
- Two simple ways to shoot tethered
Let’s dive right in.
What is tethered photography?
Tethered photography is the process of connecting your camera to a computer, tablet, or even a smartphone via a cable or wireless app. Once you’ve successfully connected the devices, any new image captured by the camera is then passed directly to the computer and saved in a designated folder.
Therefore, as soon as you press the camera shutter button, you can see your image displayed (in high resolution) on the computer screen. If you’re tethering in a program like Capture One or Lightroom, you can even make adjustments to your file; for instance, you can boost contrast, convert the shot to black and white, and apply presets.
Many tethering programs allow you to adjust camera settings from your computer, tablet, or smartphone – and you can fire the camera shutter from your device, too.
The benefits of shooting tethered
Tethering lets you quickly preview each photo on a large monitor within moments of firing the shutter button. That way, you and your client can scrutinize your shots on a big screen. You can check for perfect composition, focus, exposure, and subject blemishes – and your client can indicate what they like or dislike about each new file.
Depending on the tethering software you use, you might be able to apply various presets to the image, so as to better visualize the final (edited) result.
Tethering also lets you organize your images as you go along. In a program like Lightroom, you can add notes, star ratings, keywords, and more to each new photo. That way, you can stay on top of your file management, and you can record key information while it’s still fresh in your mind.
The downsides of tethered shooting
Tethering is great – but if you’re not careful, it can cause problems, too.
For one, you or your client might get too caught up in little details while inspecting the photos, which can stall a photoshoot. When tethering, it’s important to set expectations with your client. Let them know how you work and do what you can to set a steady pace.
Tethering can also suck the battery life out of both your camera and your connected computer. You should always carry extra batteries and – if possible – shoot near a wall socket in case you need to plug in your laptop. Tether Tools makes an external Camera power system that can give you all day uptime. It connects any USB battery pack to your camera through a battery coupler so you never have to stop your shooting to change batteries.
And tethering software is notoriously finicky. It sometimes stops working for no apparent reason, so you’ll want to get set up and take some test shots before your photoshoot starts (so you have time to troubleshoot). You should also have a backup plan, just in case.
Finally, tethering requires extra equipment, such as a lengthy cord and a laptop or desktop computer. So while it might be tempting to tether for on-location shoots, consider carefully before hauling along your expensive electronics.
Ultimately, whether you tether is up to you. It’s a great way to improve the final product – but it can be slow, plus it involves extra software and moving parts, so if you need to do a fast-paced portrait session or an outdoors product shoot, it might be better to shoot the “normal” way.
Tethering your camera: essential equipment
The traditional and most reliable way to connect your camera to a computer or another device is with a cable. There are a variety of different cables and ports available, so the specifics will depend on your exact devices. (For further information, check your camera manual.)
Some cameras even offer wireless tethering. The image transfer process can be slower compared to cabled tethering, but if you prefer to work without a cord, this is a great method to try.
If you plan to tether with a cable, you’ll need:
- An extra-long (e.g., 15 feet) USB cable to connect your camera to your computer
- Tethering software, such as Adobe Lightroom (paid), Capture One (paid), or Canon EOS Utility (free)
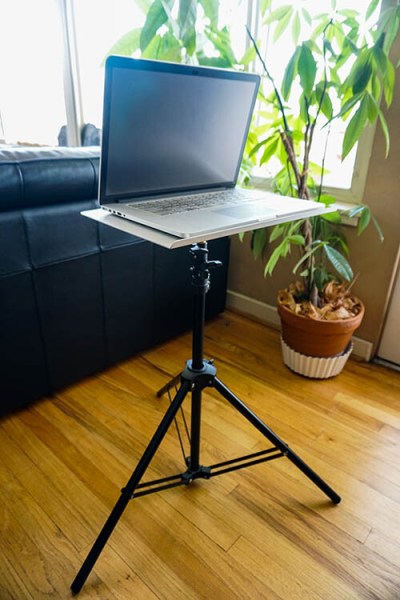
I’d also recommend a portable table to hold your laptop such as the Tether Tools Aero Table, as well as a TetherGuard to prevent your USB cable from being yanked from your camera.
One thing to be aware of: with is the latest USB-C ports on newer cameras, USB-C 3.2 Gen 2, the port protocol is designed to transfer both power and data. Cameras with two USB-C ports may designate one port for power and one port for data/image transfer, so be sure you connect your tether cable to the right port. For cameras with only one port, you’ll want to turn off camera power in your camera settings so that power is not sent or received through the USB port while tethering. Another option is to use a cable that does not have Power Delivery (PD) to ensure the power does not conflict with data transfer.
If you’d prefer to tether wirelessly, then you can forgo the cable and the Jerkstopper – but you’ll still need the laptop, the table, and the tethering software.
How to shoot tethered: step-by-step instructions
In this section, I explain how to tether with two low-cost, simple programs: Adobe Lightroom and EOS Utility. I’m assuming you’re tethering with a cable (the process is similar when tethering wirelessly, albeit with a few extra wireless activation steps when starting out).
Shooting tethered in Lightroom
If you already own Lightroom, the quickest way to get started tethering is with the Lightroom Tethered Capture feature.
Step 1: Connect your camera to the computer
Make sure your camera is turned off. Connect one end of the cable to your camera and the other end to your computer. Then turn the camera on.
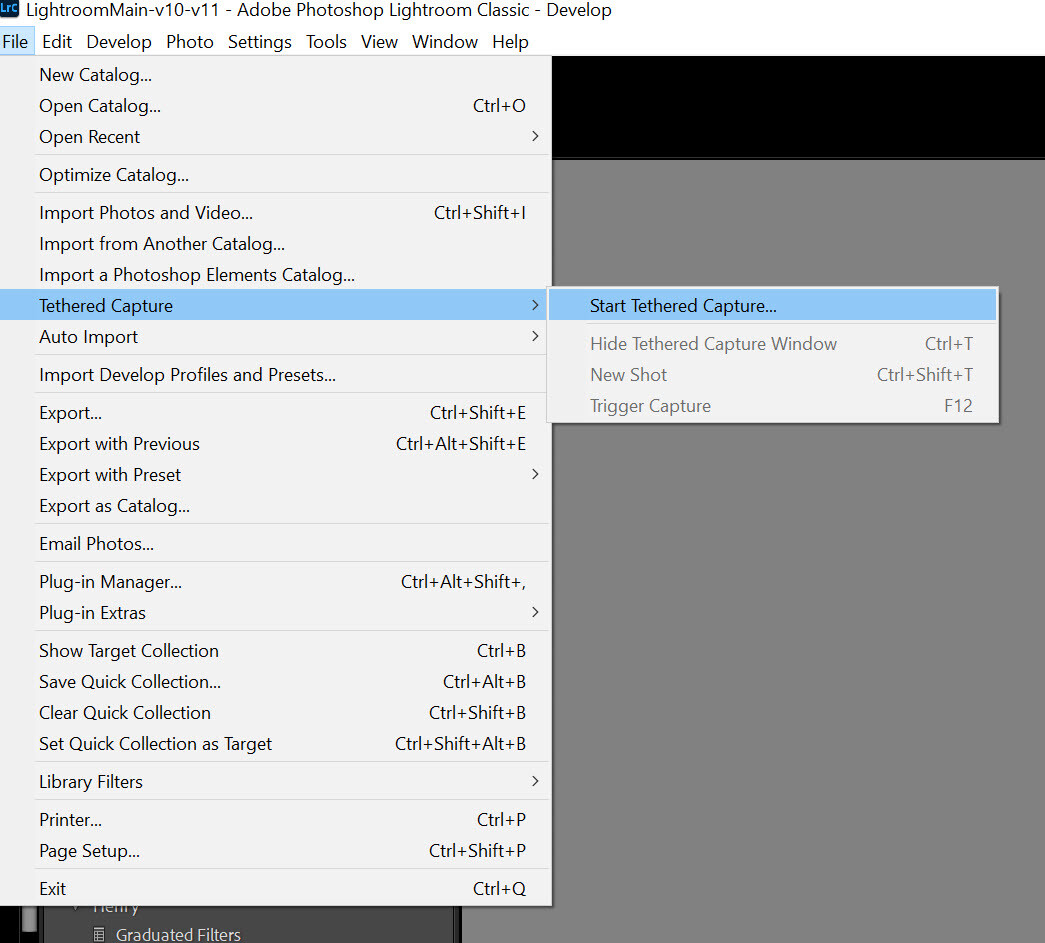
Step 2: Start Tethered Capture in Lightroom
Open Lightroom. Select File>Tethered Capture>Start Tethered Capture.
Step 3: Choose your tethered settings
In the Tethered Capture Settings dialog box, you can enter a session name, select a file naming template, pick a file destination, and apply metadata and keywords.
Pay careful attention to where the photos will be saved (you need to be able to find them later!).
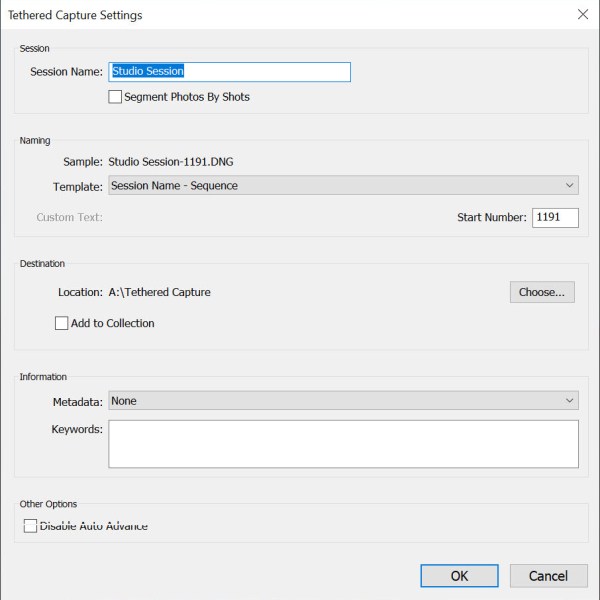
Once you’re satisfied, click OK.
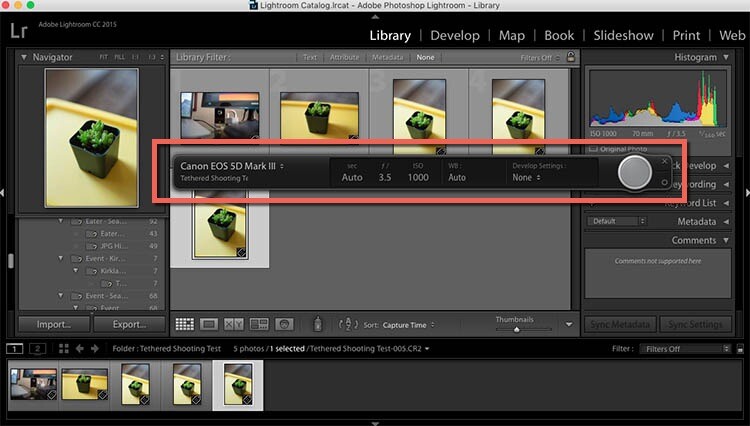
If all goes well, you’ll see the screen displayed below, with a narrow control panel and a Library where photos captured via the tethered shooting connection will appear. You should see your connected camera listed on the left-hand side:
Lightroom sometimes has difficulty detecting the connected camera. In that case, you’ll get a No Camera Detected message:
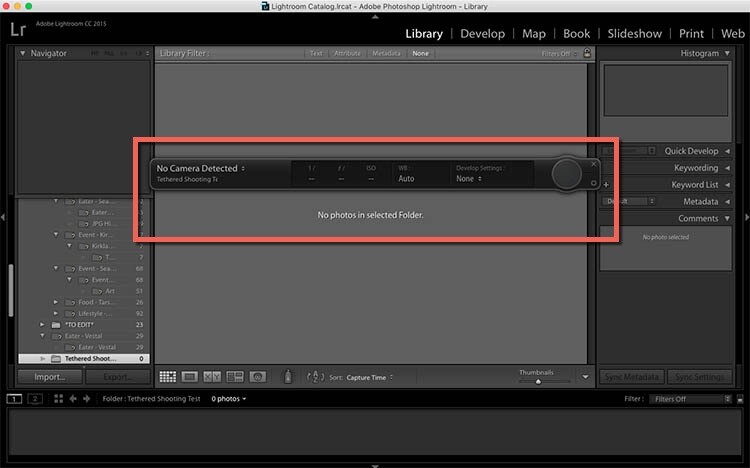
If that happens, make sure your version of Lightroom and your camera’s firmware are up to date. Also, check to ensure your camera can do tethered capture in Lightroom. If your camera cannot tether in Lightroom, you can use a third-party plugin as a workaround; do a search for your camera model and you may find a solution.
Finally, try rotating through several different USB cables to make sure they’re working well.
If you’ve done all of the above and you still can’t get tethering to work, you might want to try tethering using a different program, such as EOS Utility:
Shooting tethered with EOS Utility
If you own a Canon camera, you can use the free EOS Utility software, which offers a simple tethering program. In my experience, this method is more reliable and consistent than Lightroom’s Tethered Capture option.
Step 1: Download EOS Utility and connect your camera
Head over to the Canon website, find your camera, then select the latest version of EOS Utility:
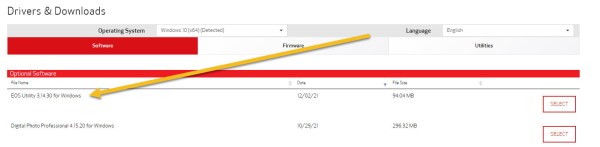
Download the program. Then – with your camera turned off – plug in your tethering cable. Turn your camera back on.
Open the EOS Utility program on your computer. The software should recognize your connected camera, which means you can then select the Remote shooting option:

Step 2: Work with the EOS Utility interface
Once you’ve successfully selected Remote Shooting, you should see the following interface:

The display lets you adjust certain settings from your computer, though there are some functions, such as lens zooming, that you’ll need to do manually.
Next, if you have the option, set your camera to Live View mode. Your camera display should appear on your computer screen, so you can see exactly what your camera sees.

Then, when you take a photo, the file will appear on your desktop!
You’ve made it this far, you could pop over and check out ‘best practices’ from the tethering geniuses at Tether Tools – Troubleshooting Tethering
Enhance your photoshoots with tethering!
Now that you’ve finished this article, you know how to shoot tethered in both Lightroom and EOS Utility. And you’re ready to do some high-quality product or portrait photography.
So connect your camera to your computer. Test out tethering. See what you think!
Now over to you:
What type of photoshoot do you plan on tethering? Which software will you use? Share your thoughts in the comments below!
The post Tethered Photography: A Step-By-Step Guide appeared first on Digital Photography School. It was authored by Suzi Pratt.